
So, now the project that I delayed in order to make an actual wood workshop: the tv table!
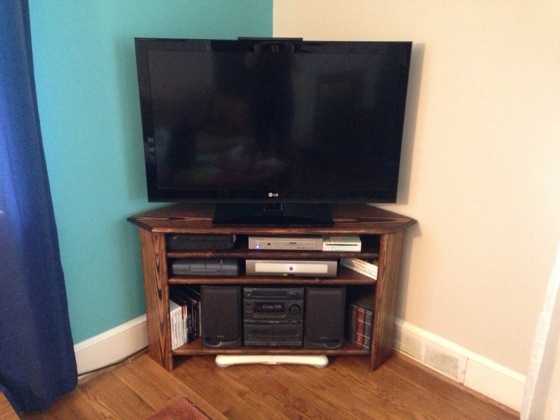
My current tv table looks like this:
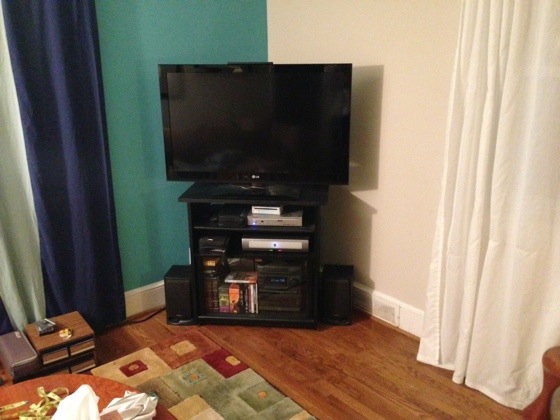
Too small for the tv, wedged awkwardly into the corner despite not being a corner table, and my stereo speakers don’t fit inside it (and even if they did, I’d have to open the glass doors to hear them). Clearly this is no longer the right piece of furniture.
So I designed my own corner tv stand – it’s based off the previous tv stand, with some important tweaks. First, it’s a corner tv stand instead of a rectangle. It’s sized so it’s wide enough for the tv, but doesn’t block the baseboard vent to the right of the stand. It’s wide enough to hold my stereo and its speakers. It doesn’t have doors on the bottom section, so I can use my stereo without having to open doors. It also has two shelves for the Tivo, Wii, DVD player, and their accessories.
This is my initial sketch of what it should look like: 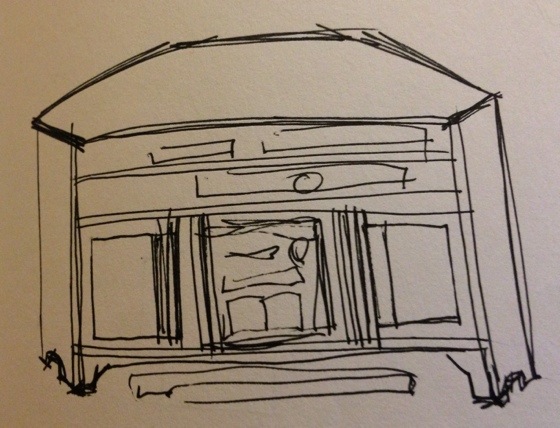
Then I figured out what pieces of wood I would need in order to build the stand, and their dimensions. I had several large pieces of wood left from the kitchen demolition – solid pine that’d been in this house for more than 50 years already. Admittedly, it was all a bit greasy, and needed to be sanded to remove the ancient varnish and orange-y stain, but several weekends of mindless sanding left me with usable boards. None of my boards were quite wide enough to work as the top and shelves, so I had to connect two pieces together for those parts. This was pretty straightforward because I got a Kreg jig for Christmas this year, and it is excellent for exactly this kind of project.
Once I’d screwed the boards for the top and shelves together, I cut them to size – the base and two shelves of the same size, the top about 3″ bigger, and then I cut the boards for the sides as well. Then I started the real sanding process – taking the varnish and stain off used 60 grit sandpaper, but for refinishing, they all needed to be sanded to 180 grit. Also, despite the Kreg jig’s awesomeness, the joins weren’t all perfectly level with each other, so I needed to flatten them out. So I sanded. And sanded. And sanded. Forgot to close the door to the workshop one day, so my car was coated in a thin layer of sawdust, as well as the basement stairs… which I then proceeded to fall down. Ow. Then, more sanding, with the door closed. Finally, success! Then I got to use my router to round off the front edge of the shelves, the sides, and do a decorative edge on the top.
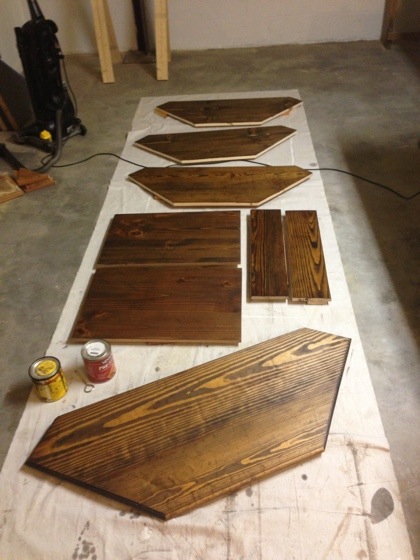
With all the pieces cut, sanded, and routed, I could go ahead and stain them. Like the bookcase project, I decided to stain all the pieces before assembly, because it’s way easier to stain flat boards than get into all the nooks and crannies of a constructed piece of furniture. I did two coats of Minwax’s Dark Walnut stain. This is pretty gorgeous on the pine, because the woodgrain pattern comes out really vividly as some areas absorb lots of stain and other areas take less. I also did one coat of varnish on the flat pieces.
Now it was assembly time – more fun with the Kreg jig! I made sure my pocket holes were all in places you wouldn’t be able to see once the stand was assembled, and put the whole thing together. Then I did a final coat of varnish, and let the whole thing dry for several days.
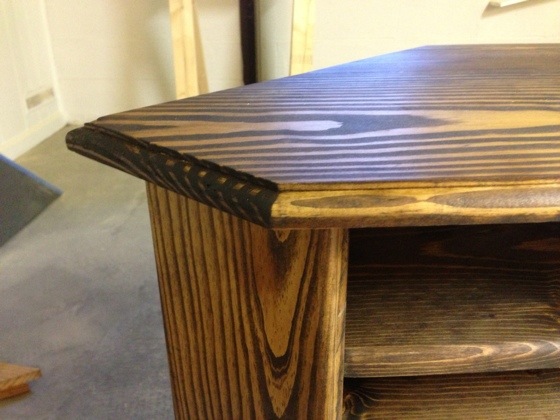
Here’s a detail of the routed top:
Once it was really dry, I took everything out of the old stand, hauled it downstairs, and brought up the new stand. Once I got all the electronics organized inside it, it was done, and looks like this:
I am amazed. You must be so proud to see a piece of furniture you designed and built. It looks great!