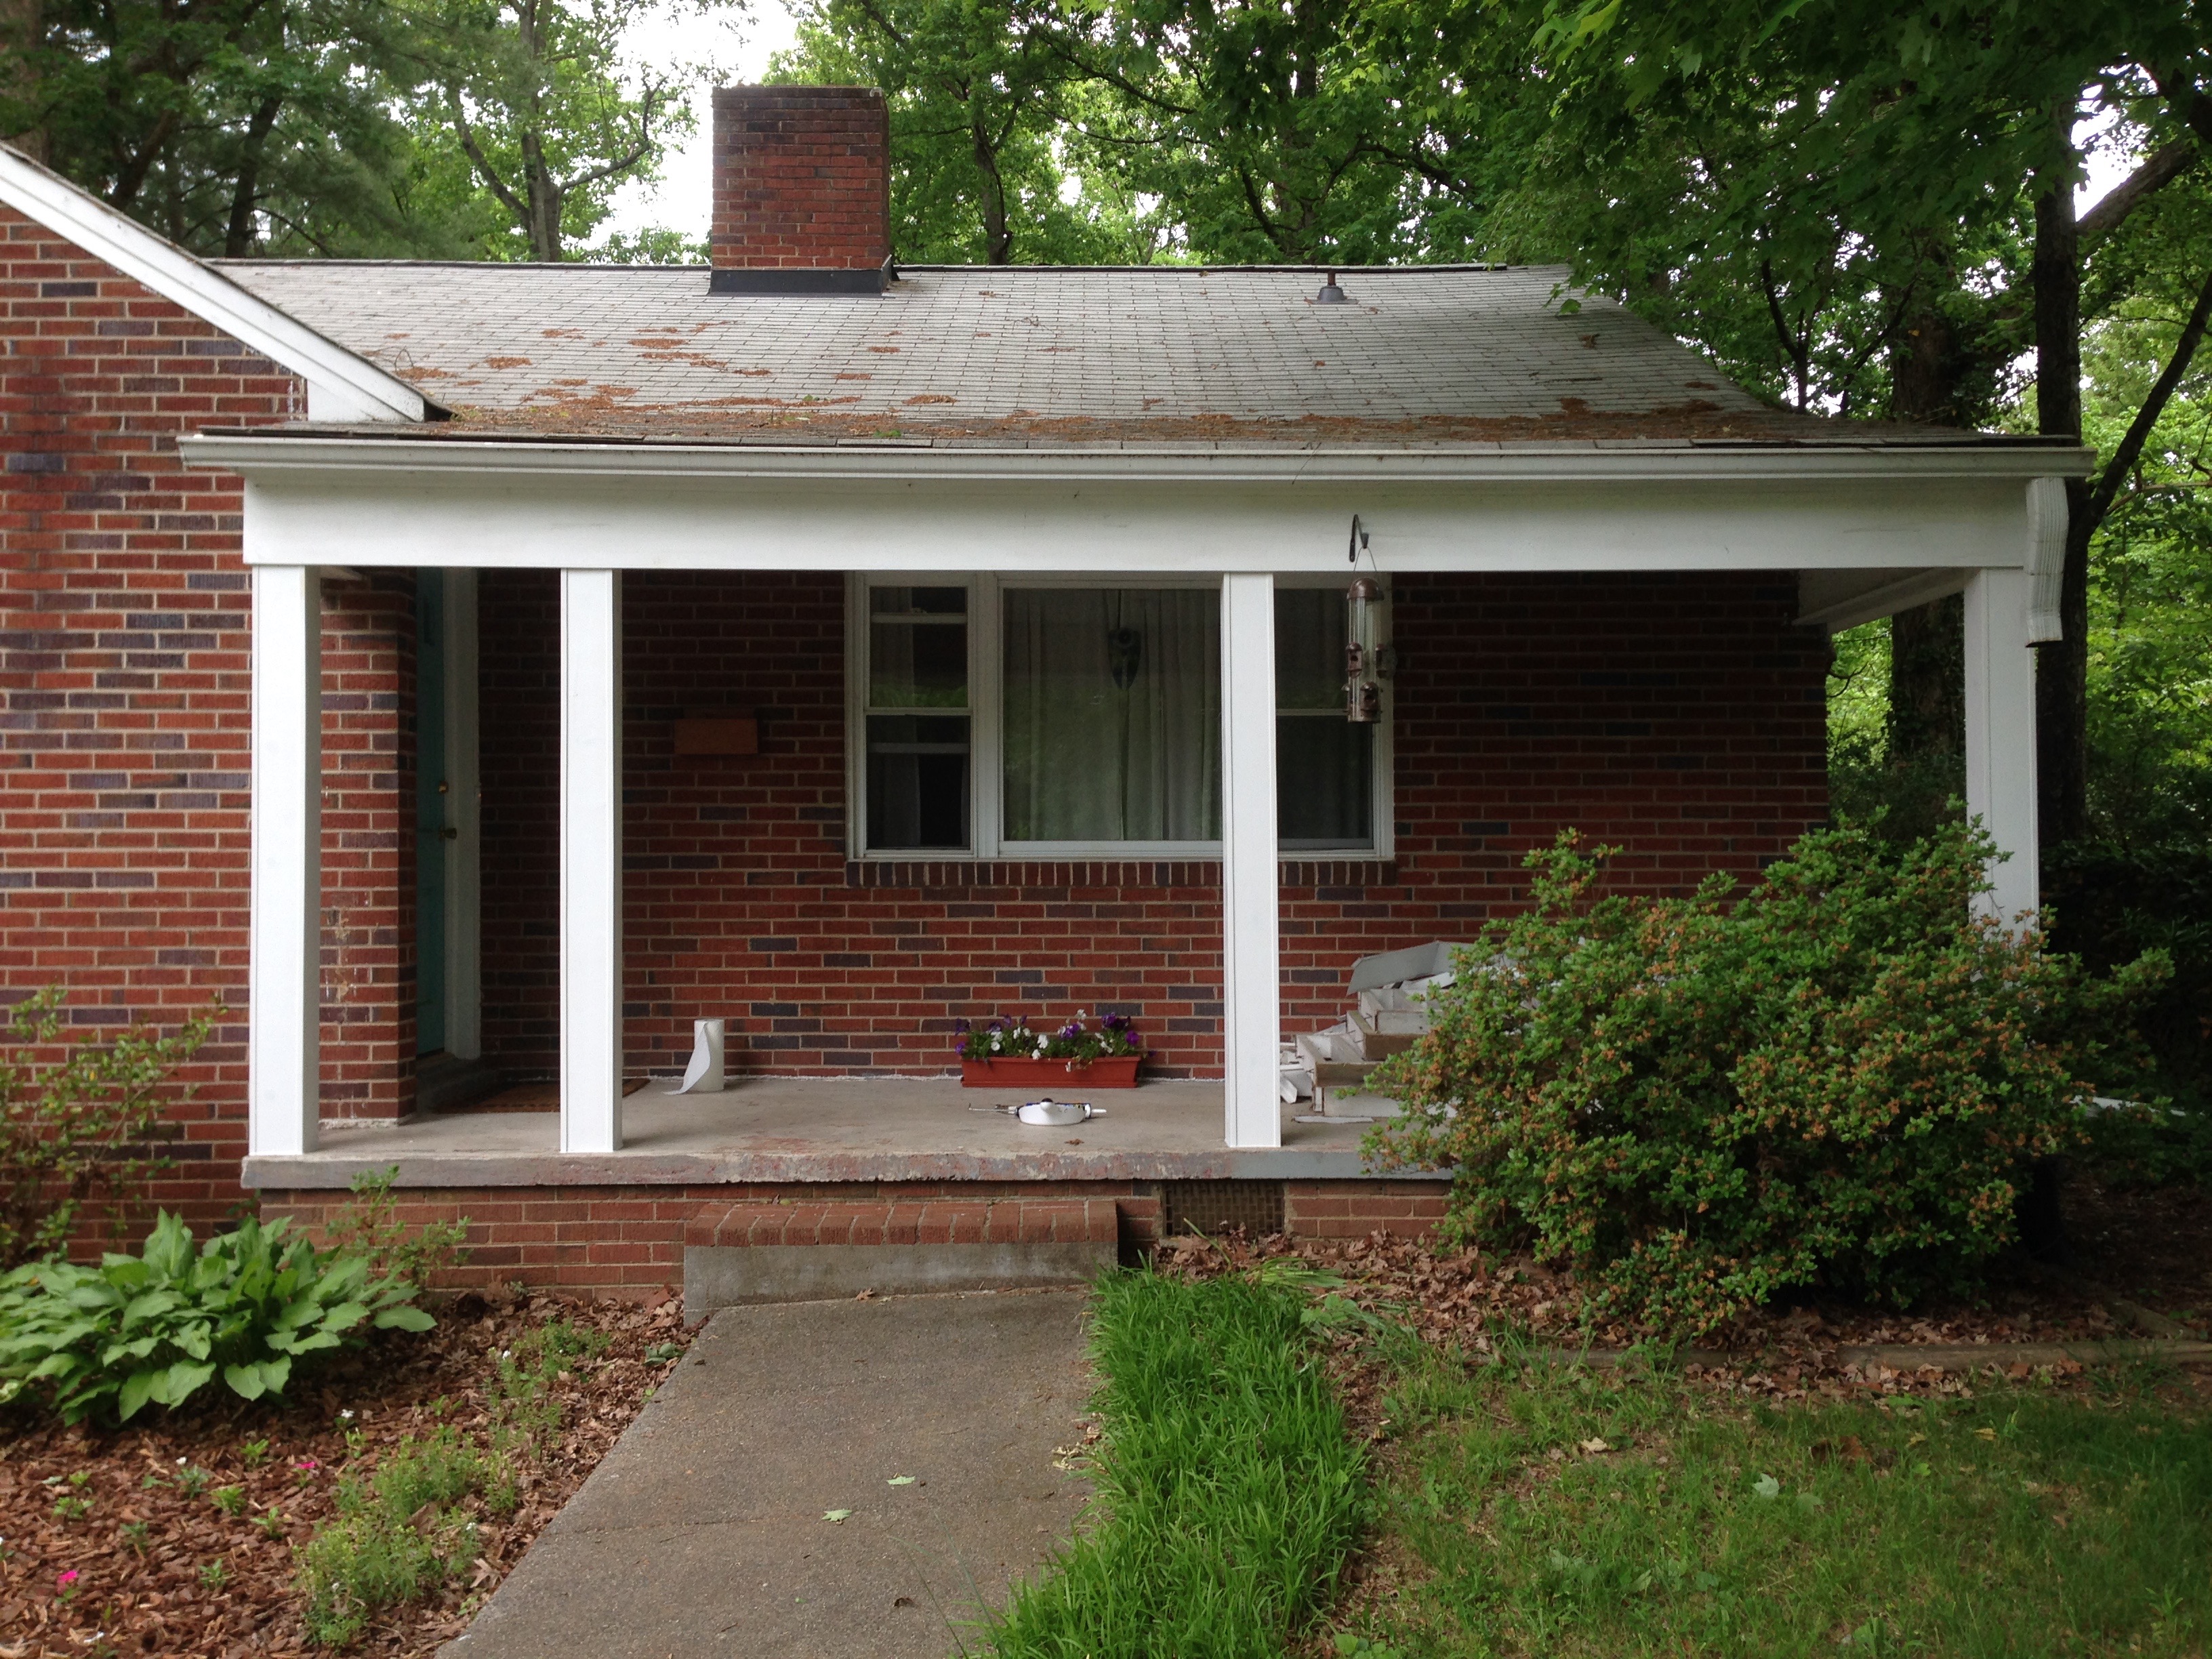
This project should take: a bit of wood filler, a good outdoor primer and outdoor paint, a small brush for all the corners, and maybe a roller if there are enough flat surfaces to warrant it. For me, this project has taken: a large amount of brute force, a crowbar, a post jack, borrowing a bigger car, use of my dad’s table saw, my router… okay, let me back up. On one of the first lovely weekends this spring, I decided to tackle repairing and repainting my front porch posts and railing. One of the posts had seemed a little loose last fall when I was grinding the floor around it, so along with my paint supplies, I gathered some bits of wood to shim it up and got started. An important detail – my porch posts are wrapped in aluminum sheathing, and the ceiling and upper surfaces of the porch are covered in vinyl siding. So my first attempt was just to shove a shim under the edge of the wobbly post. This didn’t work very well – it was hard to get the shim under the aluminum edge, but once it was under, it seemed to do nothing at all. So I went to get the crowbar and pry the aluminum off of the post so I could see what was happening. And when I did that, I found a crumbly mess.
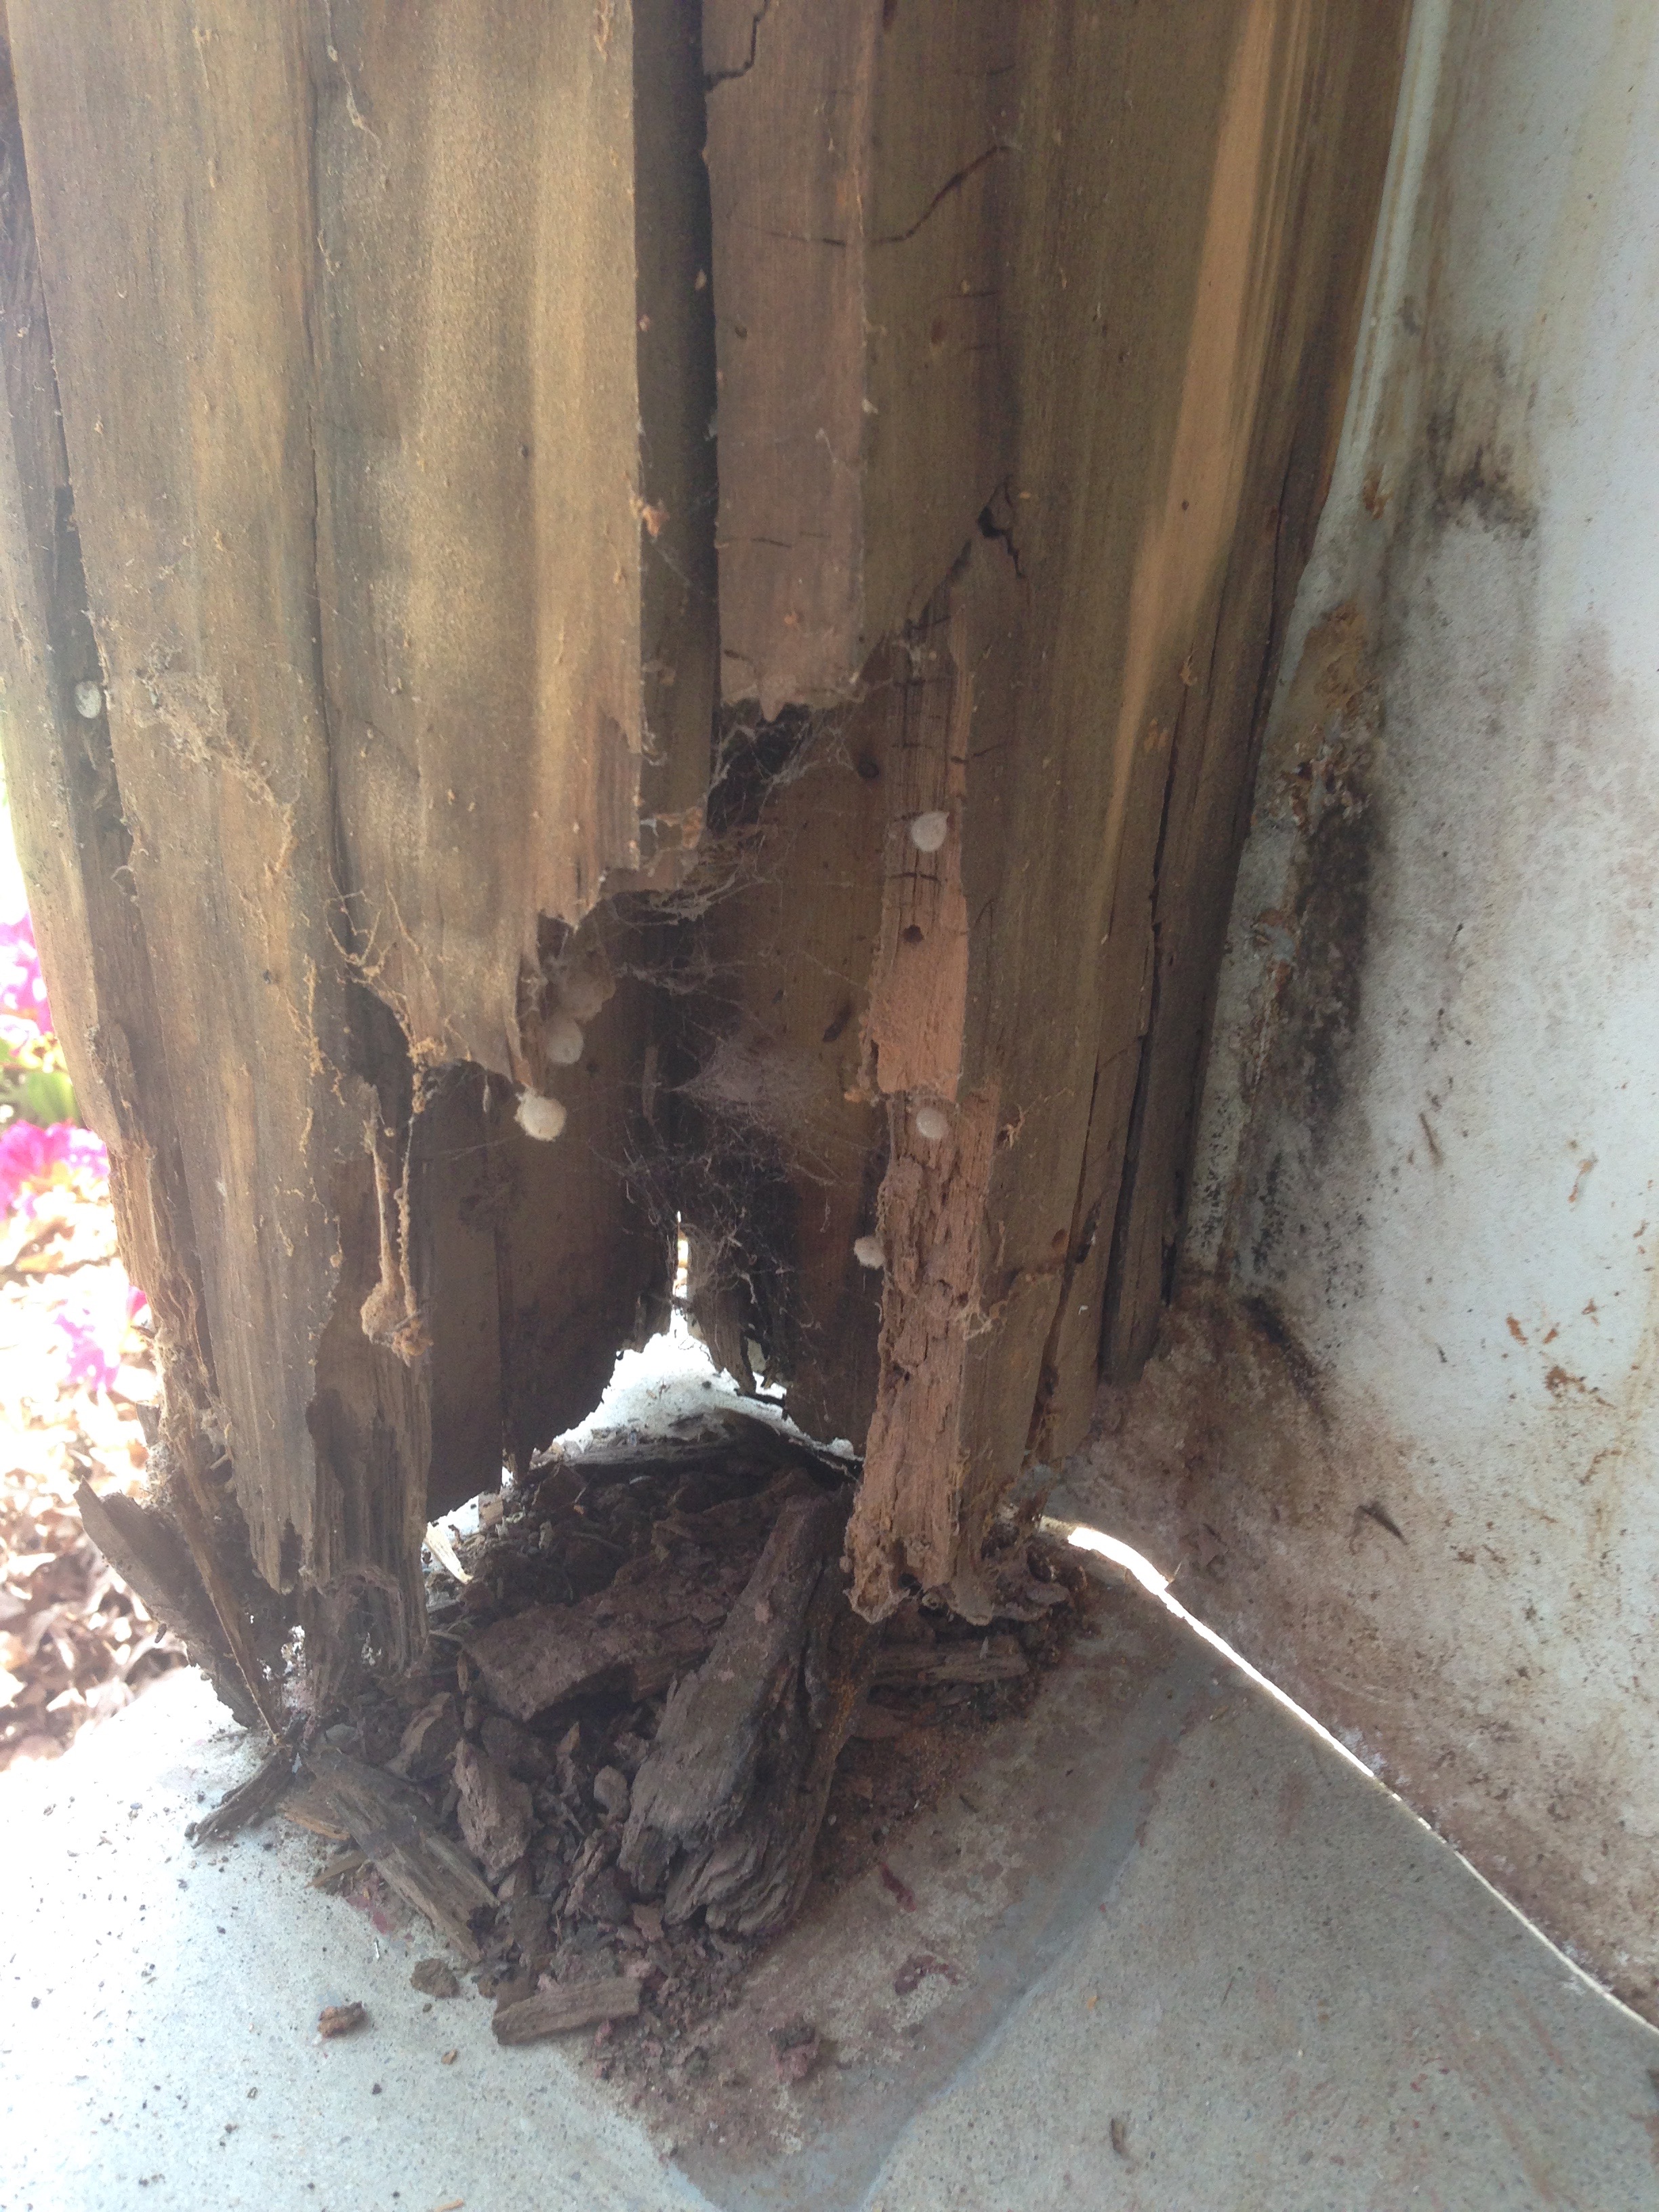
Yes, the post was rotted. Not holding up any weight whatsoever. Not something I can fix with a shim. Time to learn how to replace a porch post, it seems! I also went ahead and peeled the covering off the other posts, and discovered that three out of the four were rotting. So now the project had become replacing all four porch posts. Once I started peeling aluminum off, though, I kept going, taking down the entire porch ceiling as well. And there I discovered that the ceiling underneath was tongue and groove – with some peeling paint, but a pretty nice ceiling… except for the part near the door, where there had obviously been a roof leak, and the ceiling had rotted. Awesome. So forget the quick repainting job, it’s now time to rebuild the porch! This includes replacing all the porch posts, railings, part of the ceiling, and I still need to paint the floor eventually too.
After some research, I determined that I should use pressure-treated 4x4s for the posts, and then clad them in 1×6 boards to make them prettier – pressure-treated wood is very hard to paint, and I liked the extra bulk of a 1×6. So the next weekend I borrowed my mom’s car, which is big enough to fit four 8 ft posts in, as well as sixteen 1×6 boards. I also borrowed a post jack from a co-worker, so my porch roof wouldn’t fall down when I took the posts out.
The basic process for replacing a porch post goes like this: measure the existing post. Cut a new post to size. Jack up the ceiling right next to the existing post enough so that it’s not holding any weight, and then grab the post and yank until it comes out. The railings are, of course, attached to the posts, so mostly I tried to pry them apart and get the post down, then remove the railing from the next post, except the one time it wouldn’t come off, so I ended up wrestling a post and 7 ft of railing together off of the porch and into a large bush. My azalea will recover, I’m sure.
Once you’ve got the old post out of place, set the new post in place. Release the post jack – not entirely, but enough to put a little weight on the new post. Make sure there’s enough space for the cladding boards around it, and use a mallet to thump it ‘til it’s properly vertical. Then release the post jack entirely, and move on to the next post.
Next up, cladding the posts.
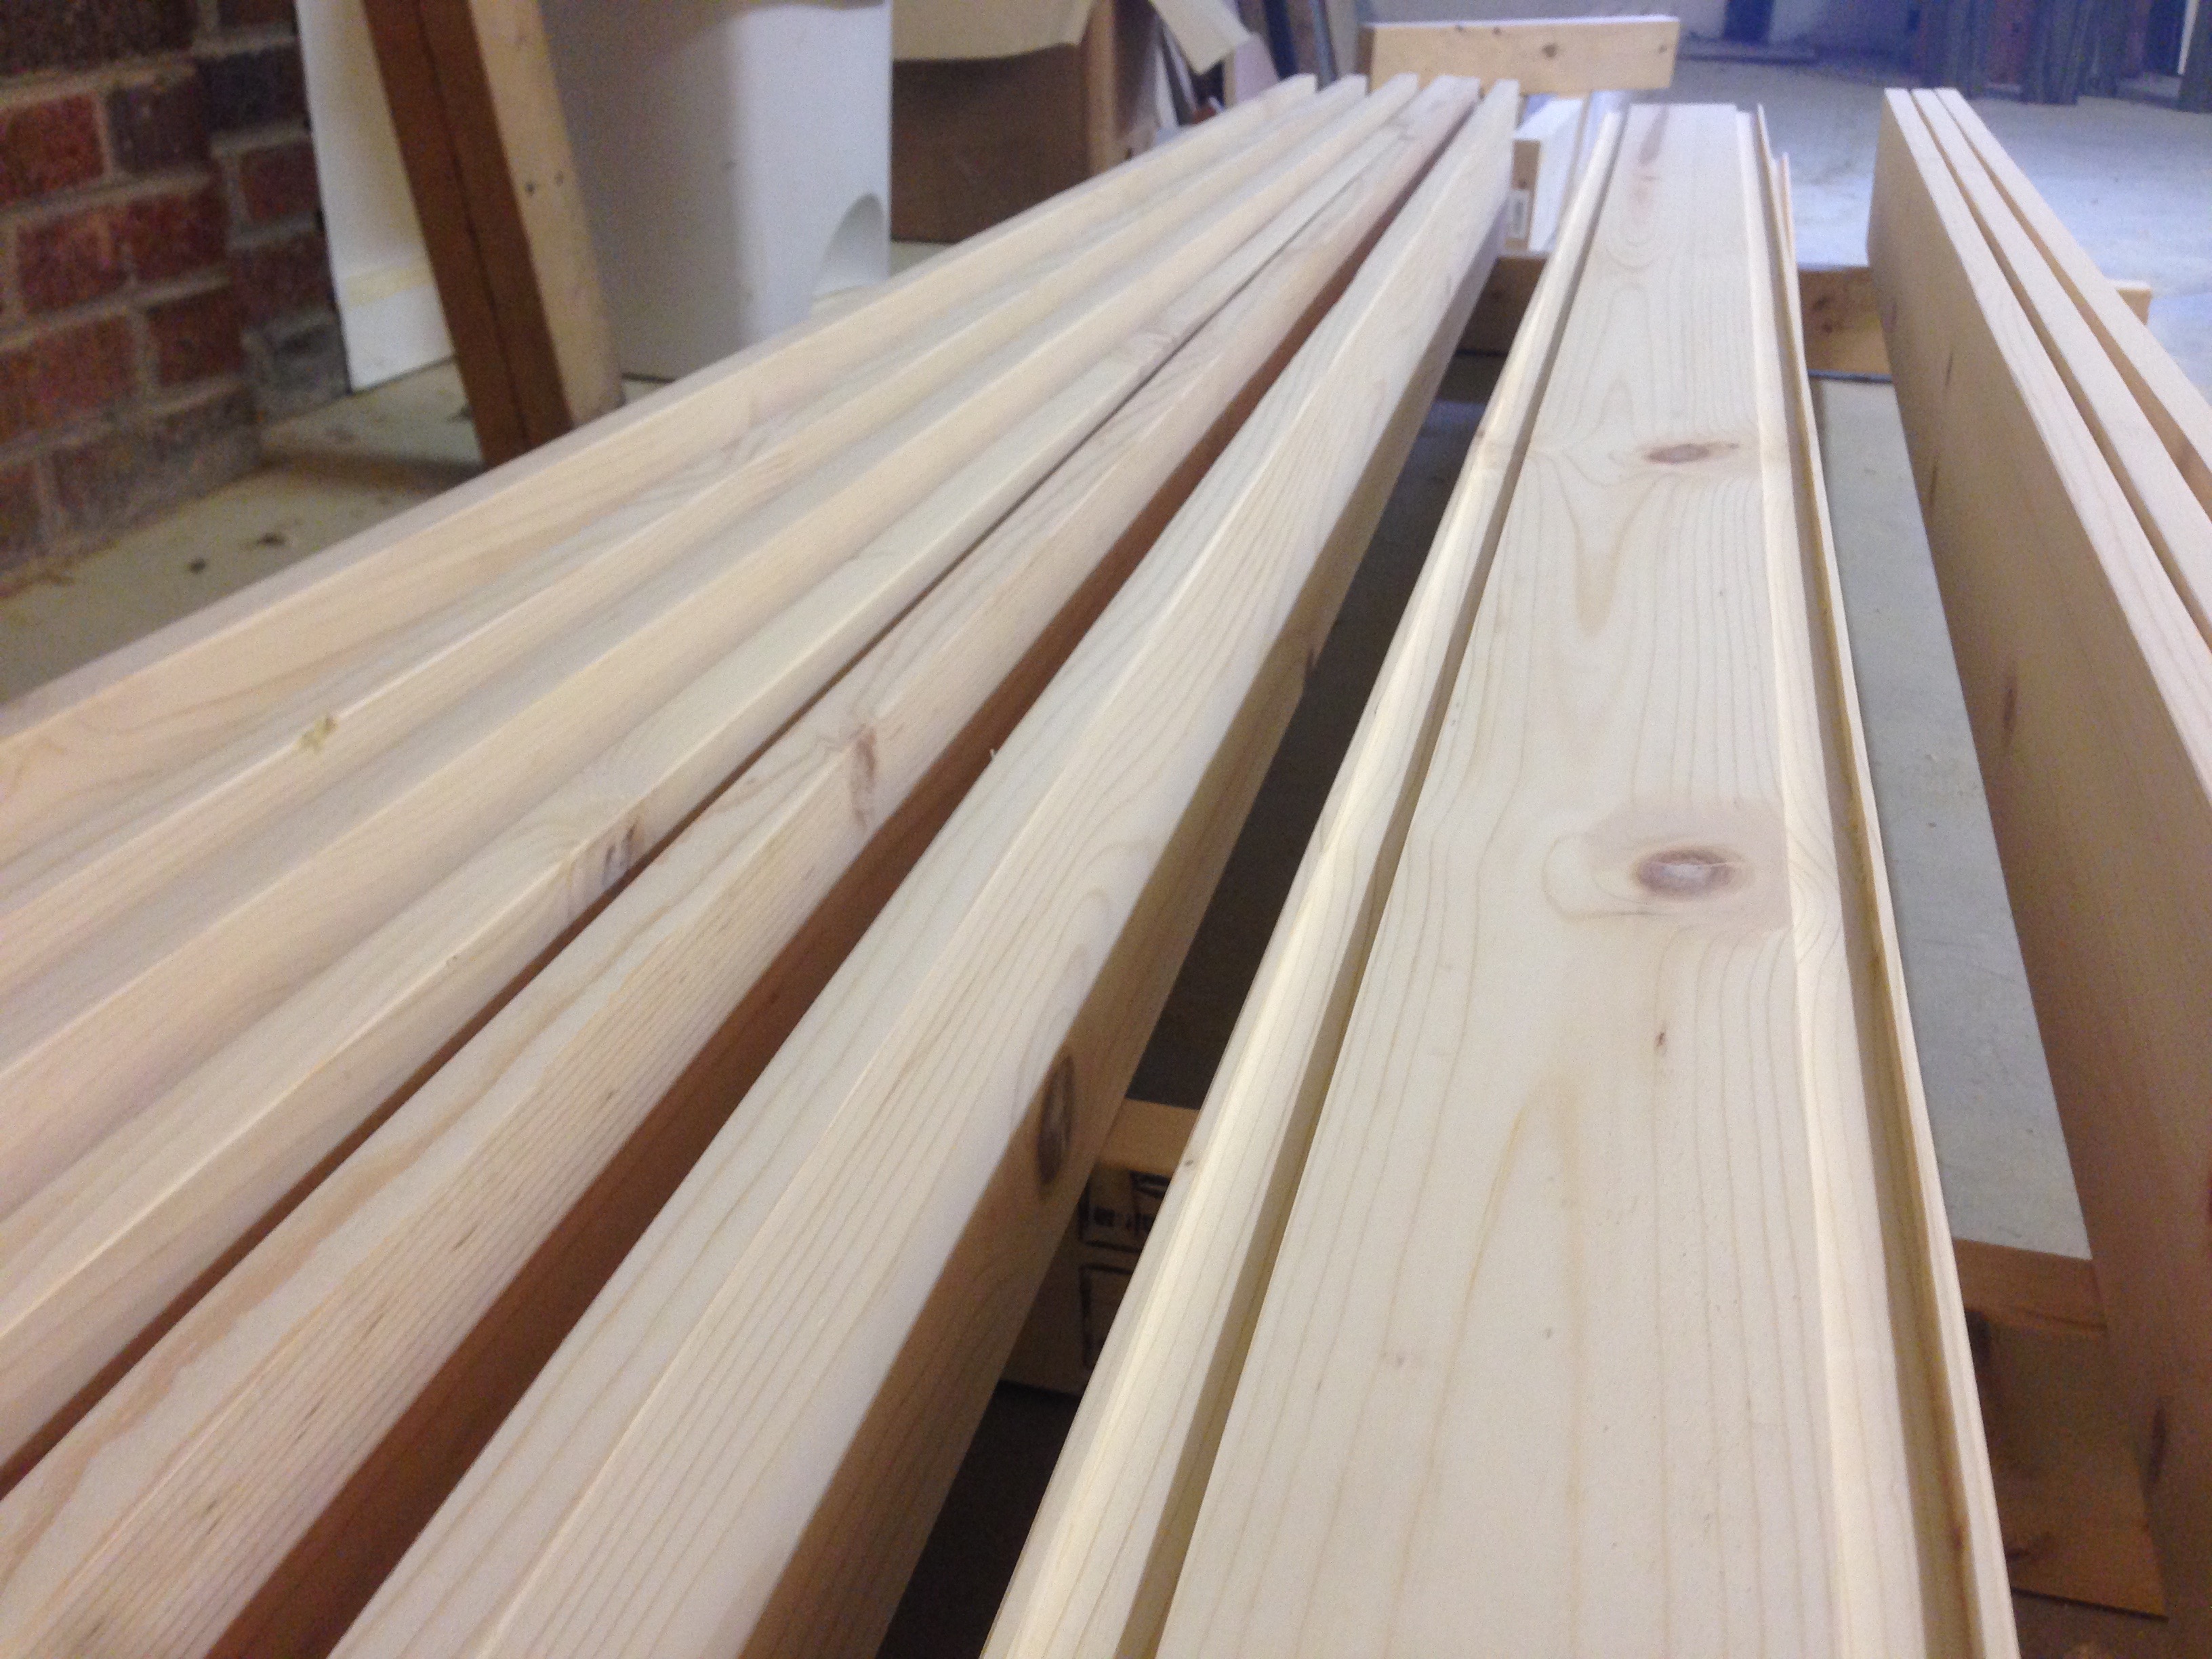
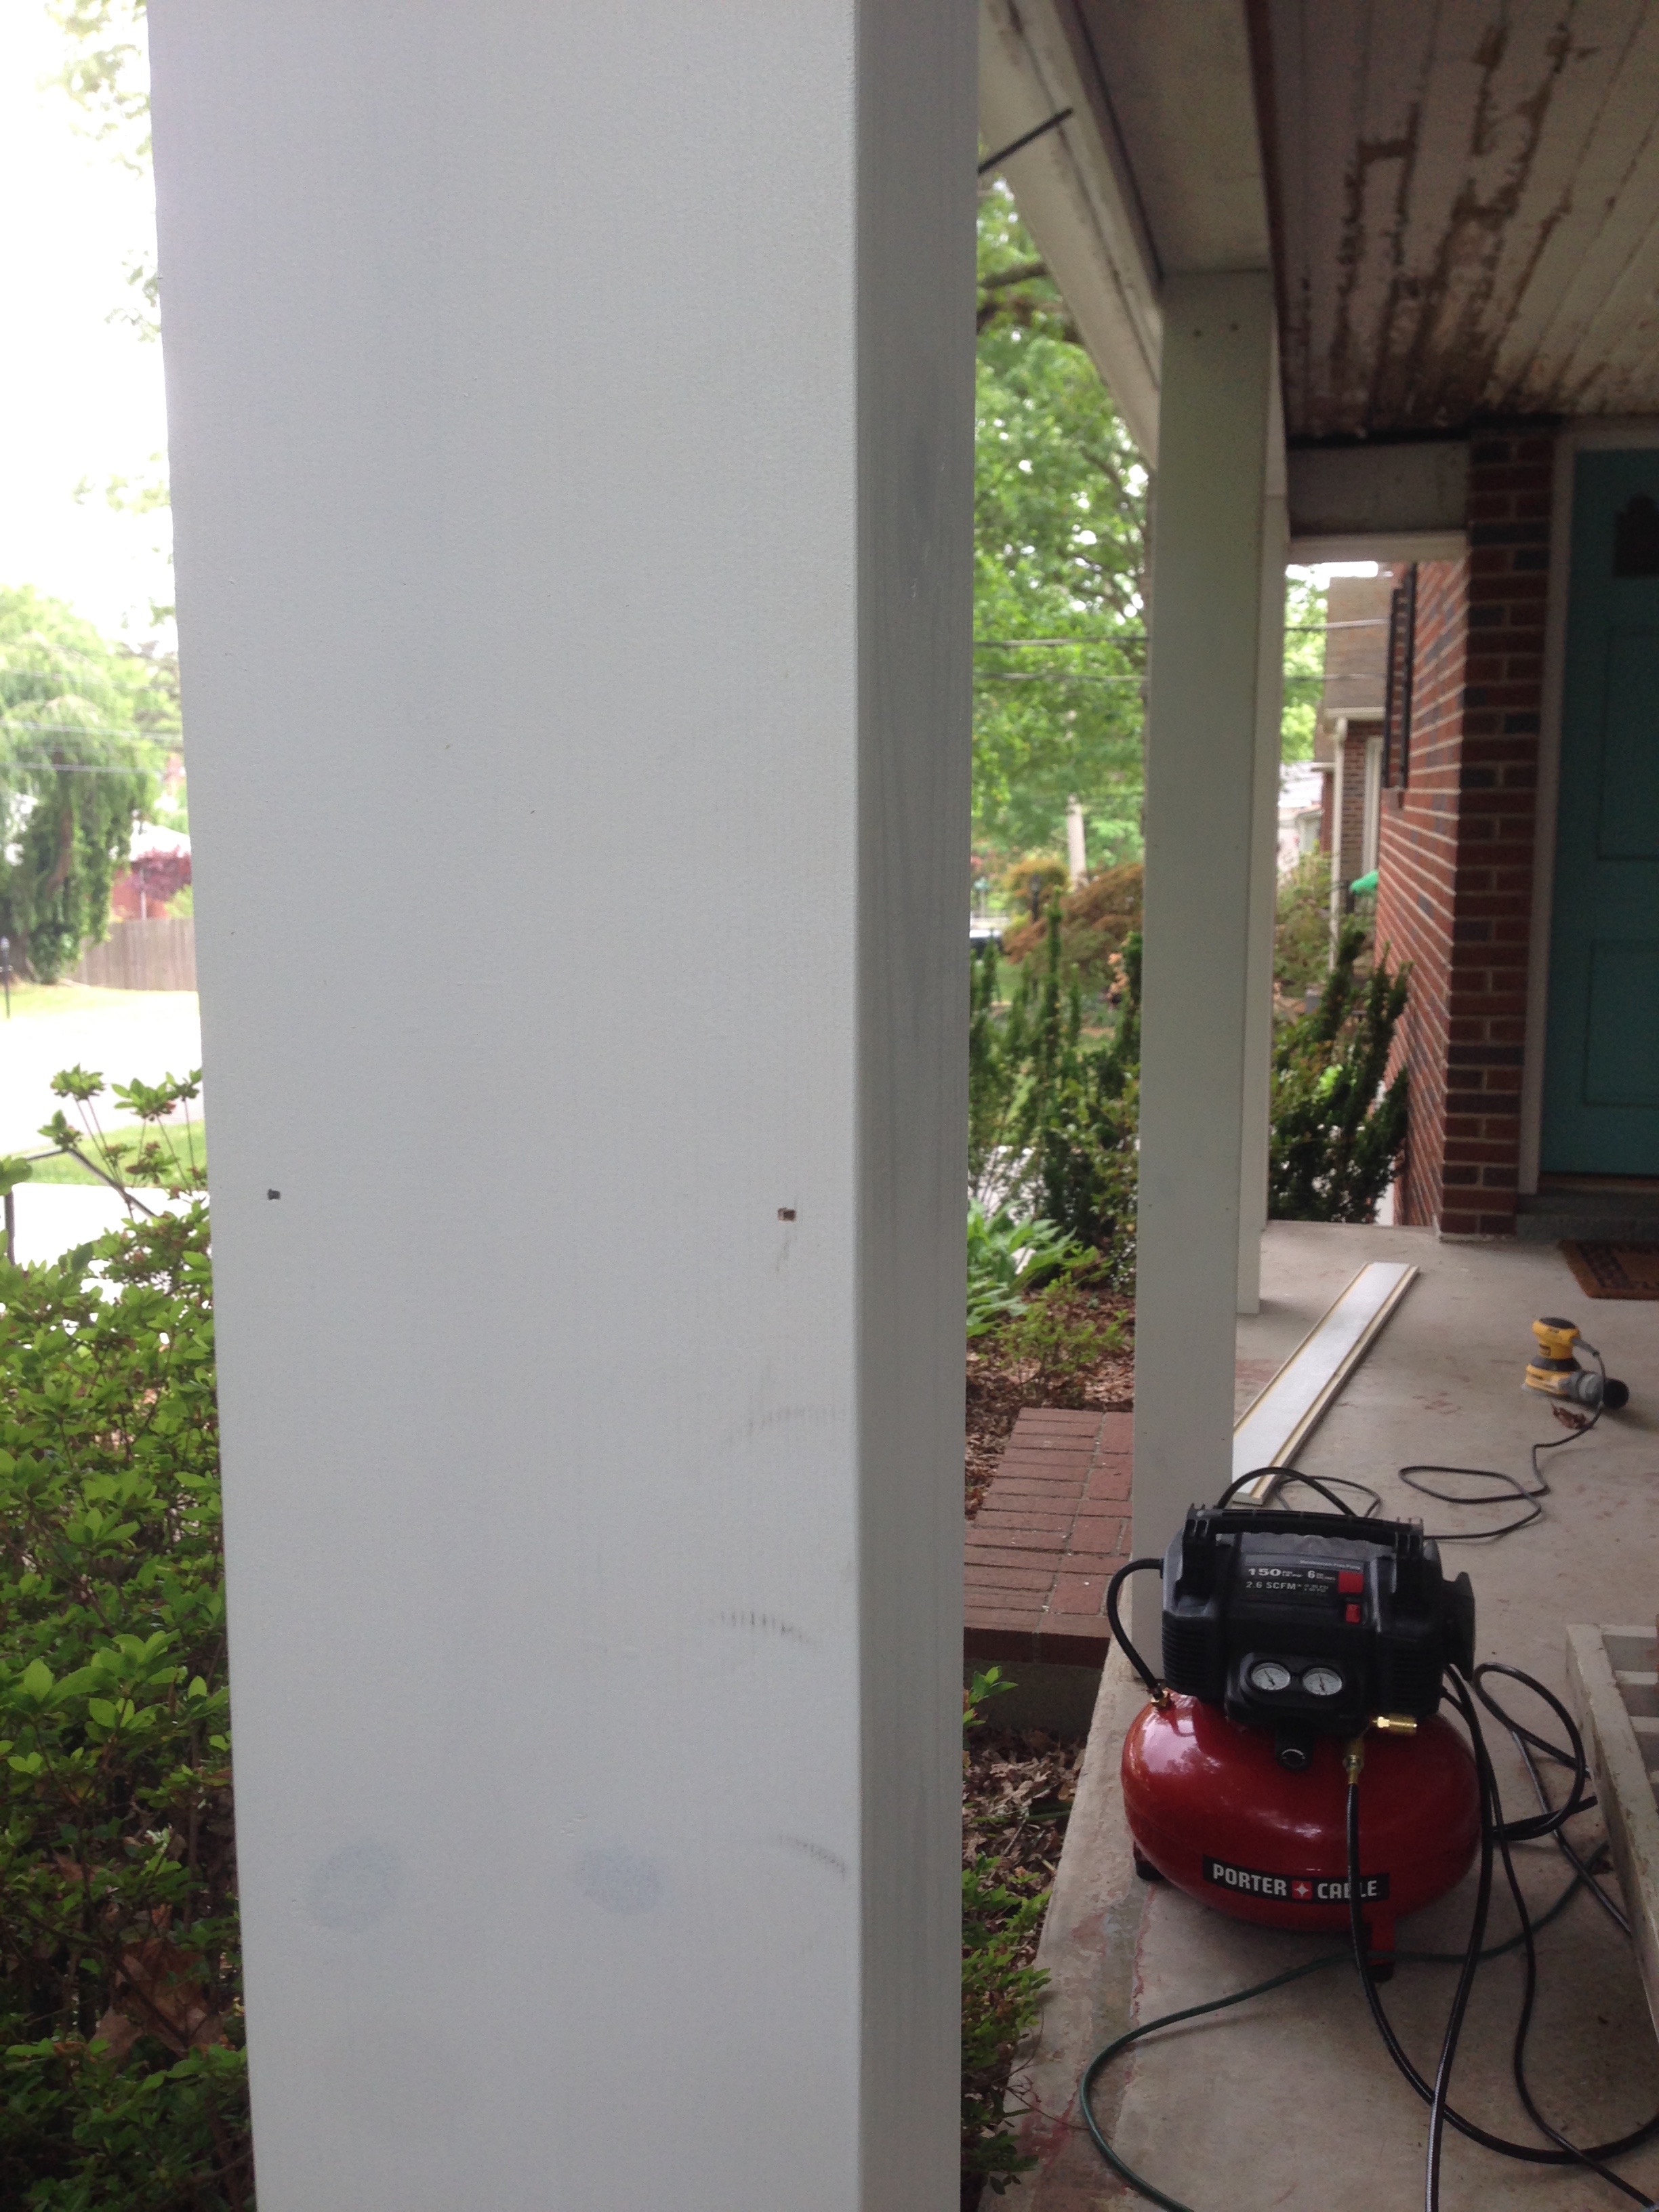
First I had to sand and paint all of the boards – two rounds of sanding, then priming, and one coat of paint, since it’s easier to paint boards before they’re assembled, but I knew I’d need to paint them once they were up to cover any dings and assembly holes.
I decided that the look I wanted wasn’t perfect boxed columns, but instead having a slight reveal on the front and back where the side boards stick out a little, so there’s some detail to them. To make this work, I took half of my 1×6 boards and routed channels where they’d join at the corners.
Then I went and bought a finish nailer and compressor, because any excuse to own a new power tool is a good one. Also, for casework like this, finish nails hold strongly but leave only tiny little indentations to fill and paint over, versus screws (big heads) or regular nails (lots of me missing the nail and hammering dents into the wood). Finish nailers are awesome. For each column, I assembled two boards and then screwed that setup into the side of the post. Then I ran a bead of glue in the remaining channel, tapped the next board into place, nailed it, and then glued and nailed the final board to make the box.
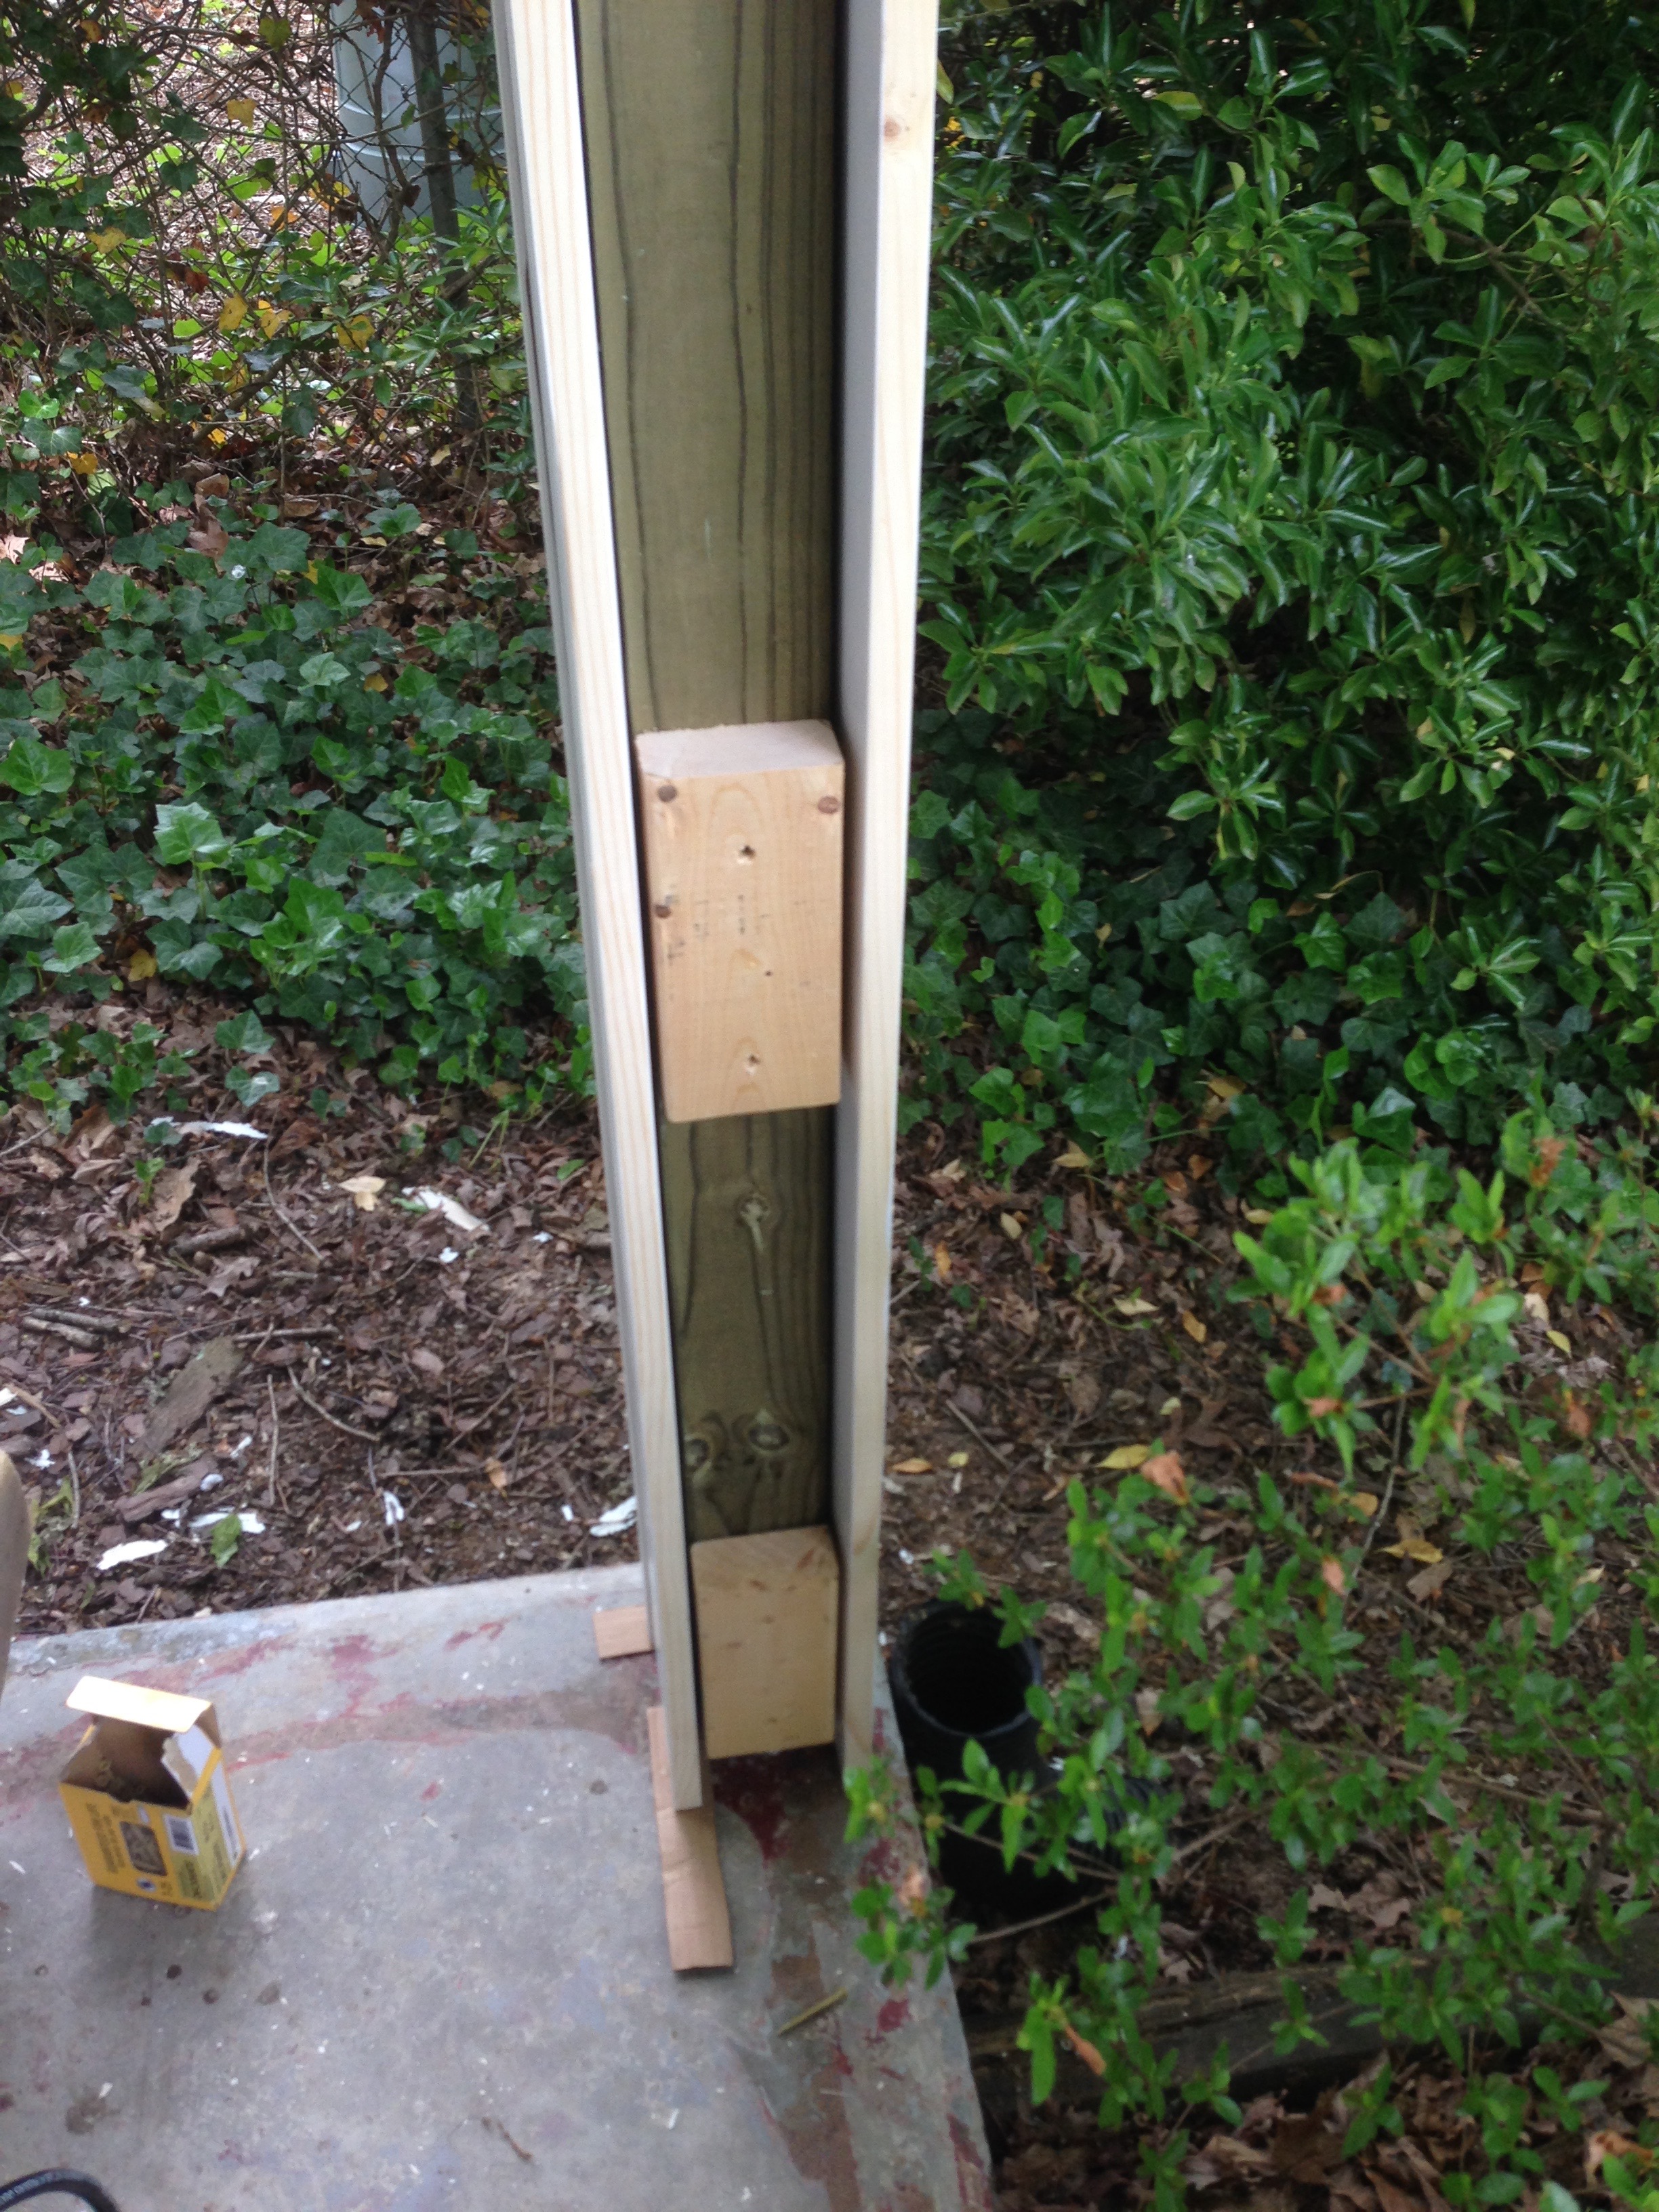
I am also planning on replacing the railings as well, so on two of the posts I had to add support blocks – these make it so there’s something to attach the railing to other than the 1×6. Luckily, some scrap pieces of 2×4 fit perfectly to fill the gap between the post and the cladding board.
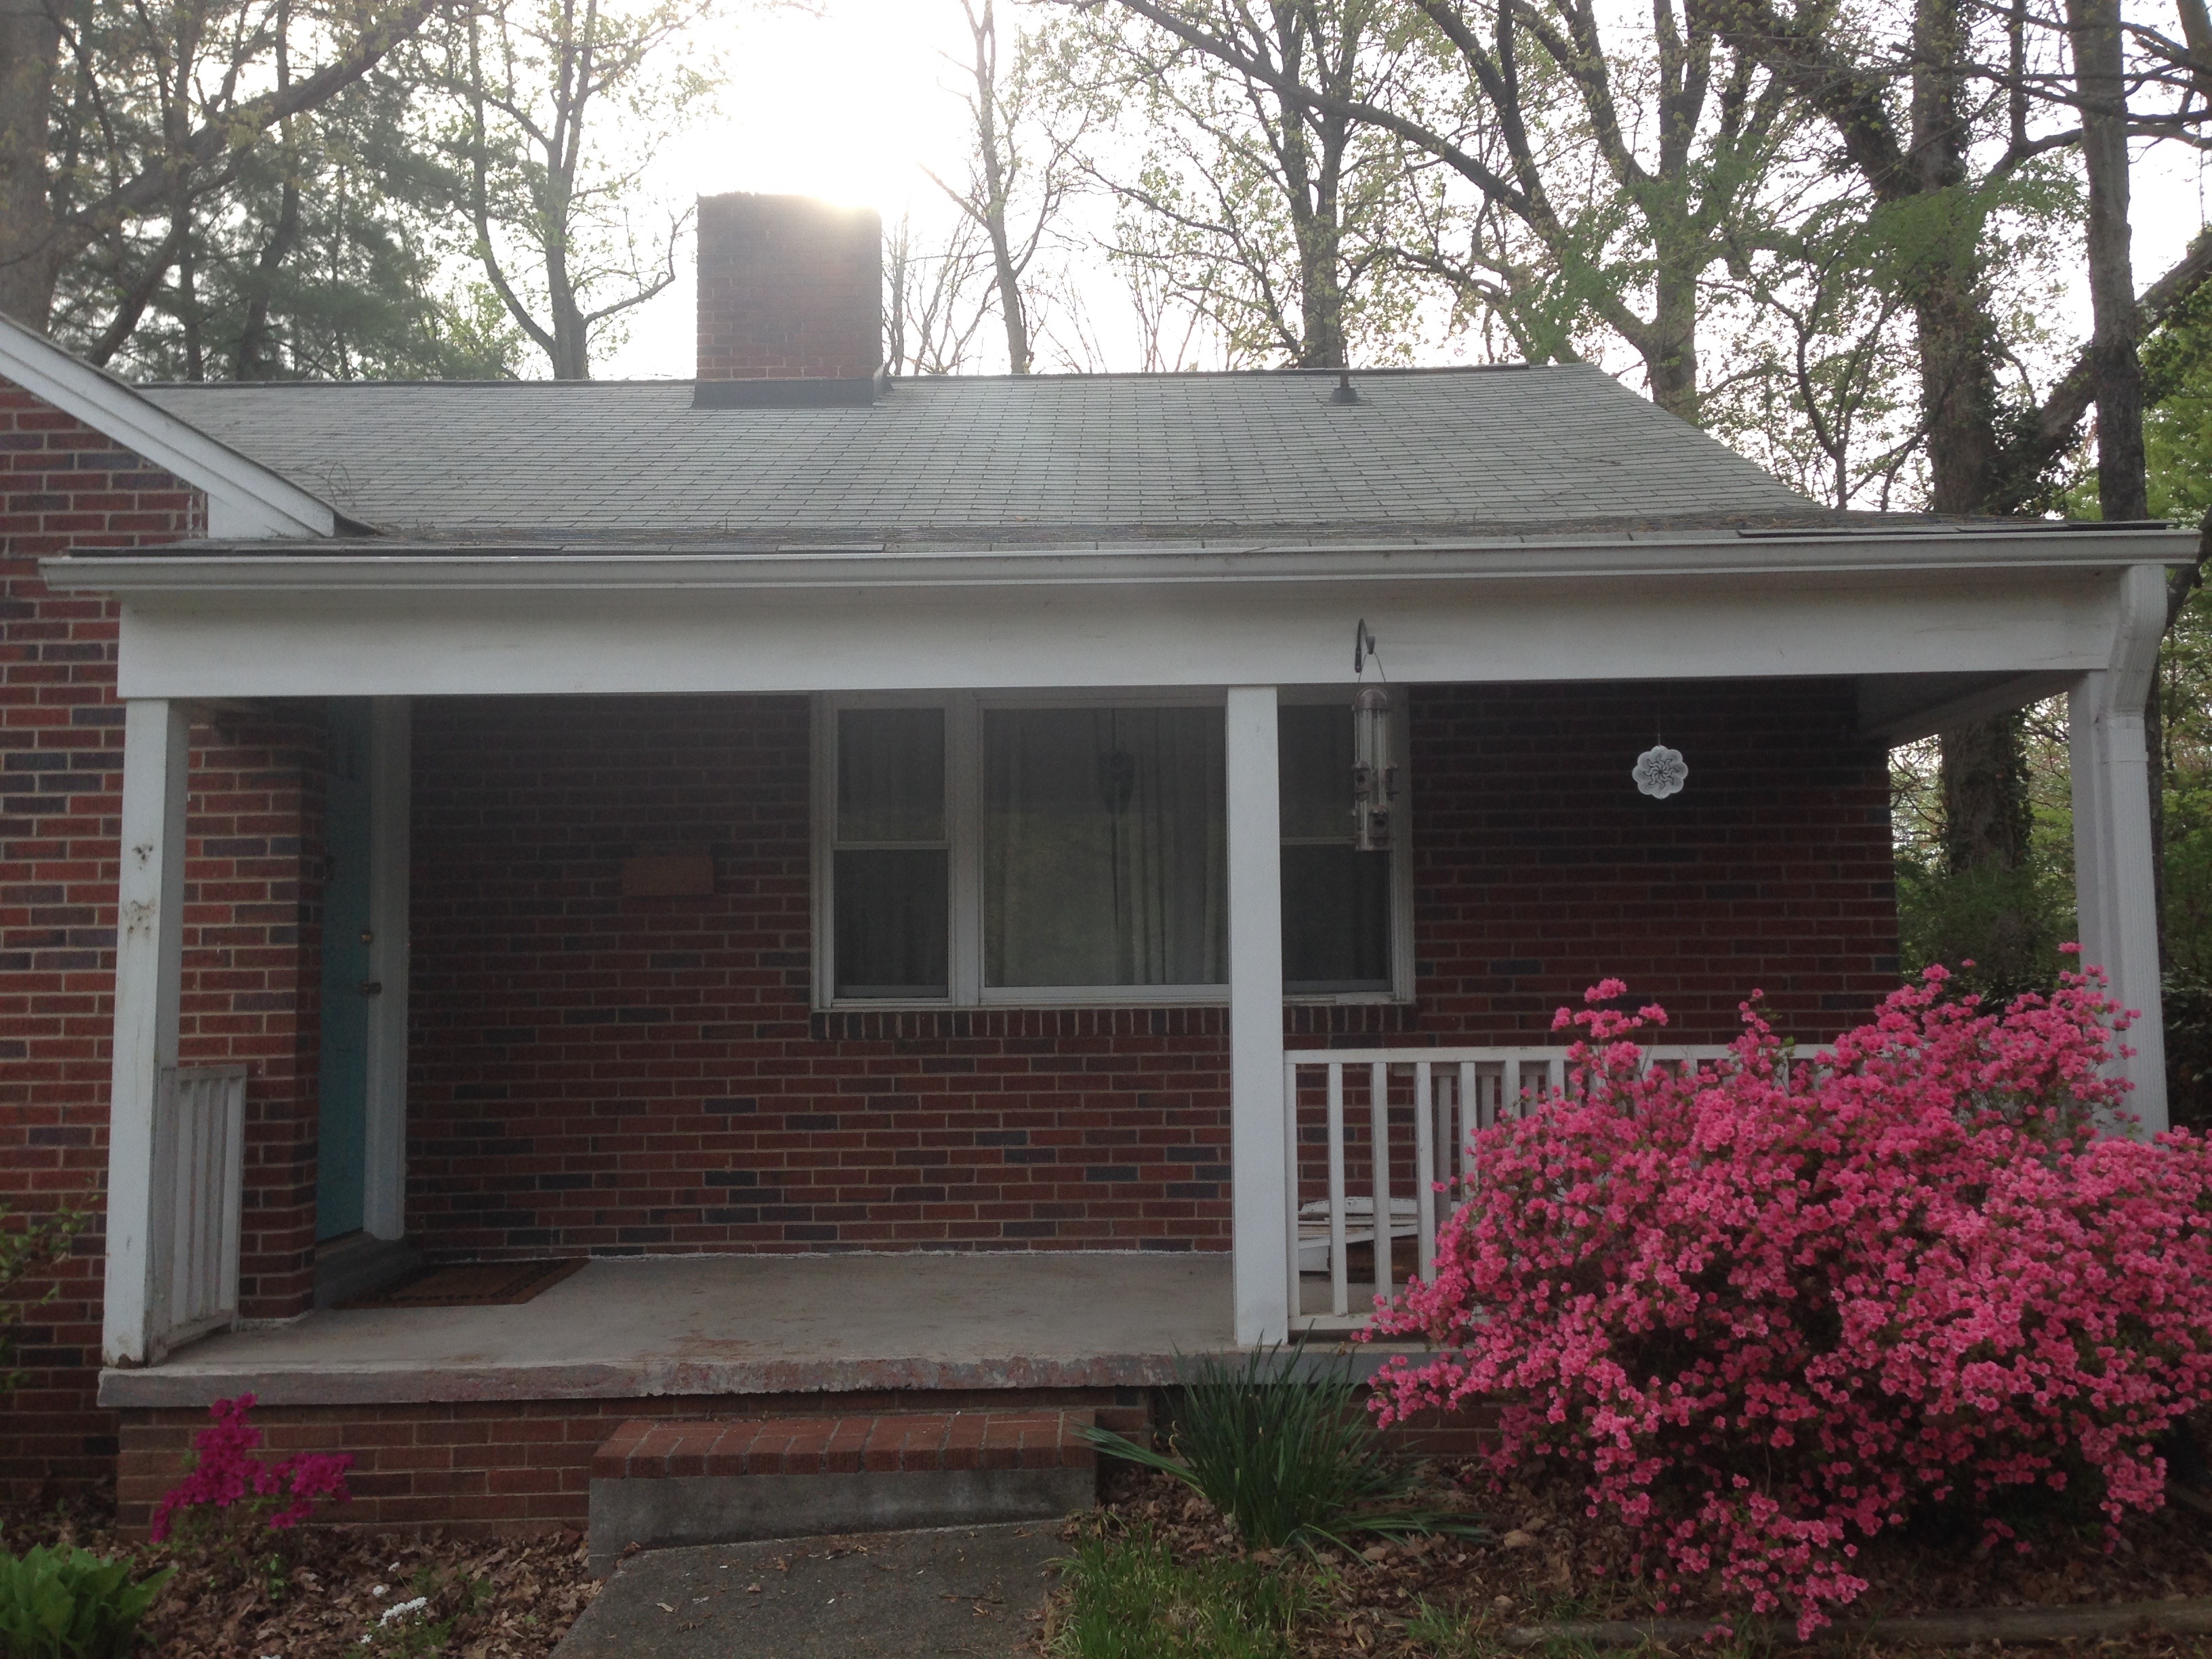
This all worked remarkably well – the joints were tight but not too hard to assemble, and the finish nailer made securing the boards easy. I even got a compliment from a neighbor on my new posts, which was great, particularly since the next parts of this project are invisible from the street.