
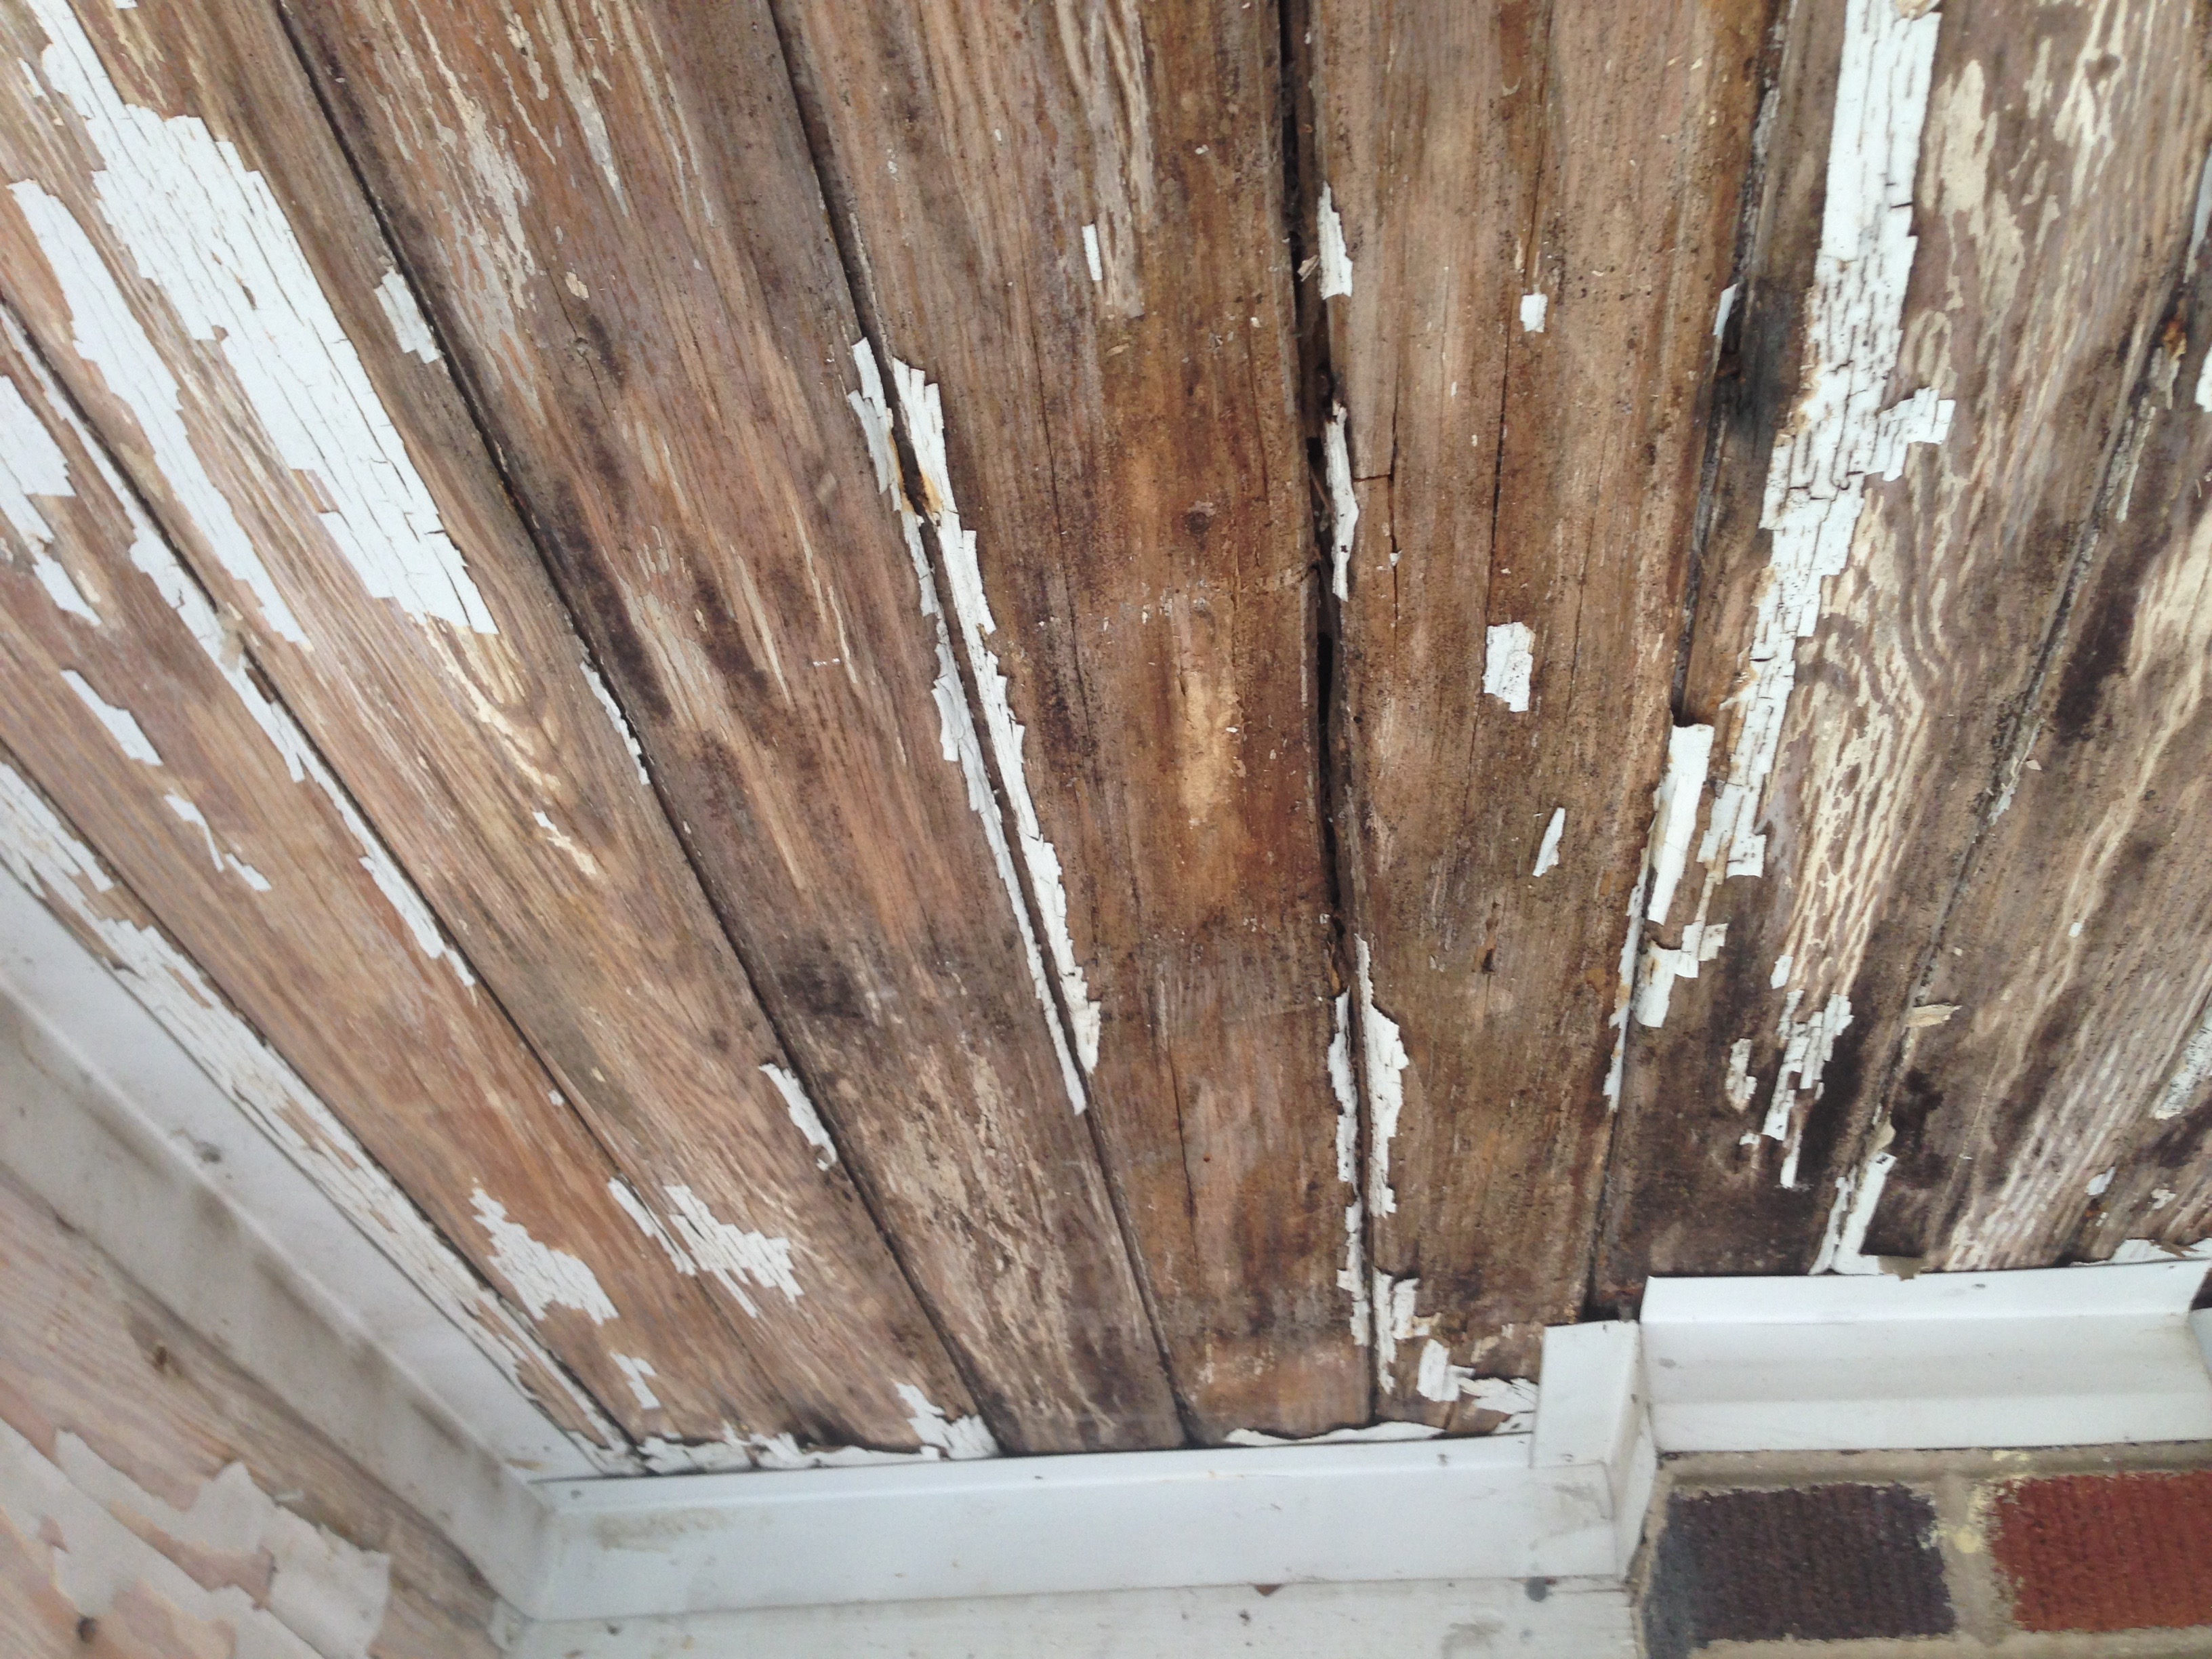
This part is the story of how I did this repair badly and then went back and did it right. My initial plan was to just cut off the boards that were rotted and replace them with new boards.
The flaw in this plan is that tongue and groove is typically installed so that no two boards end at the same place, so having a section of boards all the same length was really conspicuous.
The other flaw in this plan is that modern tongue and groove is not the same width nor thickness as the tongue and groove that was installed on my porch in 1953 when they built the house. So not only did the boards look odd because they all ended at one spot, they also had some awkward gaps to try to make up the difference in width.
Also, cutting boards out of the ceiling, above my head, with a Dremel bit that wasn’t particularly sharp, is one of my least favorite experiences I’ve had so far in this house. Not only is there sawdust falling on your face (yay goggles and dust mask!) but once you get a board out, it dumps black dust and roofing debris on you (agh, roofing nails, why so many in my attic?) Installing the new boards was way easier than taking the old ones out, fortunately – cut them to length with the jigsaw, seat the groove over the tongue of the previous board, nail through the tongue so the holes don’t show, repeat.
Anyway, after trying to convince myself that it looked fine, I admitted that it didn’t, and it was worth it to me to buy more tongue and groove and replace full rows for that section of the ceiling. Taking out an entire row of boards is much simpler, it turns out, than taking out partial boards. I was also lucky that the rotted part was towards the front of the porch, so the tongues were facing the right way for me to install new boards directly to the old ones instead of having to face-nail them. I even managed to re-use most of the boards from the first patch job, since I needed partial pieces at the end of each row.
I will say that if you are a person who likes working on projects with other people and has convenient other people who are willing to help, this is a project that would likely benefit greatly from a second pair of hands. Trying to seat an 8-foot long board fully into the tongue of the previous board, above your head, while standing on a chair, is not for the faint of heart. For anyone else, who, like me, is stubborn enough to want to do it alone (here I hear my two-year-old-nephew in my head: “I DO IT MYSELF”), my best method ended up being seating one end fully, putting one nail in to hold that end, and then moving to the middle/other end to set the whole board. My rubber mallet was very helpful, as was the belt hook for the nailer – it’s no fun to realize you’ve finally got the board where you want it and then look down to find the nailer on the floor, well out of reach.
So now the porch ceiling looks much better- half old, half new, just waiting for me to scrape all the old paint off the old part so I can prime and paint the whole thing.

Thanks Jill your article was just what I was looking for I appreciate the details of your whole shananigan with your porch ceiling .., I’m looking at replacing a couple of lengths of tongue and groove boards in a ceiling where some compadre mice have made a look see hole and a bit of a mess. All the best for your great fortune and future
My ceiling has cross beam support of tongue and groove planks.Some of the planks and beams need replacing. How can they be replaced.